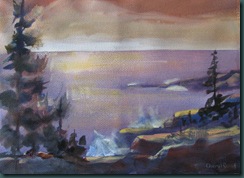
 DJ posted Exercise #2 today and rather than use her sample photo I chose the photo below from last May when we visited Manitou Springs, CO. It’s hard to explain what I did but I’ll try…
The red rock was backlit by the bright sky and totally washed out. I fixed that first by adding a layer with a sky from the same day. I set that layer to “darken” blending mode so that layers below it that were darker showed through. Then I erased bits of the sky layer that were affecting the color of the rock and foreground. Next, I applied a dry brush filter to the original photo.
The “frame” of grundge brush marks was added on top. I opened a white fill layer used rough black brush marks around the edges, & selected “darken” blending mode to make the lower layers show through. The black frame was too severe [IMHO] so I added a “muzz” layer – white fill set to 20% opacity with the focal area erased with a soft edge. This softened the effect of the darker frame and gave me a spot to write “the Lord is my rock” in black using my Wacom tablet and a calligraphy brush.
I’m sure I’ve missed some steps because there was a lot of playing around going on. There are many ways to achieve the same effect in PSE 8.0. Frankly, I’m glad I’m not dealing with the full Photophop program as I’m not sure I could absorb more information.

Best learning so far??? Setting up my workspace with “undo history” showing – makes it easy to back up many steps with just one click.
Cheers!
Retweet this
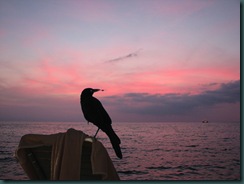
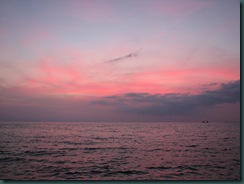
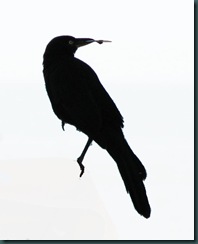

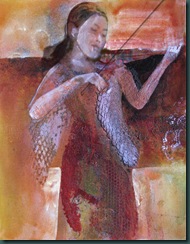
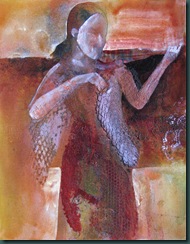 Here’s a photo of the painting as it is right now. At this point I’ve just defined the skin by a layer of almost white. It looks much bluer here for some reason. Anyhow, I brought this photo into PSE 8.0 to experiment with my next steps. I drew her facial features on one layer and then added shadow and her bow on another layer. I plan to use some tissue collage in part of the background. Here’s how it looked after I puttered in PSE.